Quick Answer
How do I add exercise animations to a React Native app?
Use MoveKit's loopable MP4 clips with expo-av (or react-native-video). Each clip is H.264, 30fps, and loops. Load from your CDN, set isLooping and isMuted, and you have professional 3D exercise demonstrations in about 15 minutes.
- •expo-av or react-native-video for playback
- •MoveKit clips are silent, loopable MP4s - no audio session conflicts
- •Use public previews for grids and paid high-resolution MP4 files for detail views
- •Structured metadata helps power filters, muscle maps, and exercise detail screens
- •Commercial license included - $4.99/clip or $99 for the full 200+ exercise library
Every fitness app needs exercise demonstrations. But finding consistent, professional-quality animations is surprisingly hard. Most developers end up with a mishmash of stock GIFs, inconsistent art styles, or expensive custom work that takes weeks to produce.
This tutorial shows you how to add clean, loopable 3D exercise animations to a React Native app using MoveKit clips and expo-av. By the end, you will have a polished exercise browser with professional animations playing in your app.
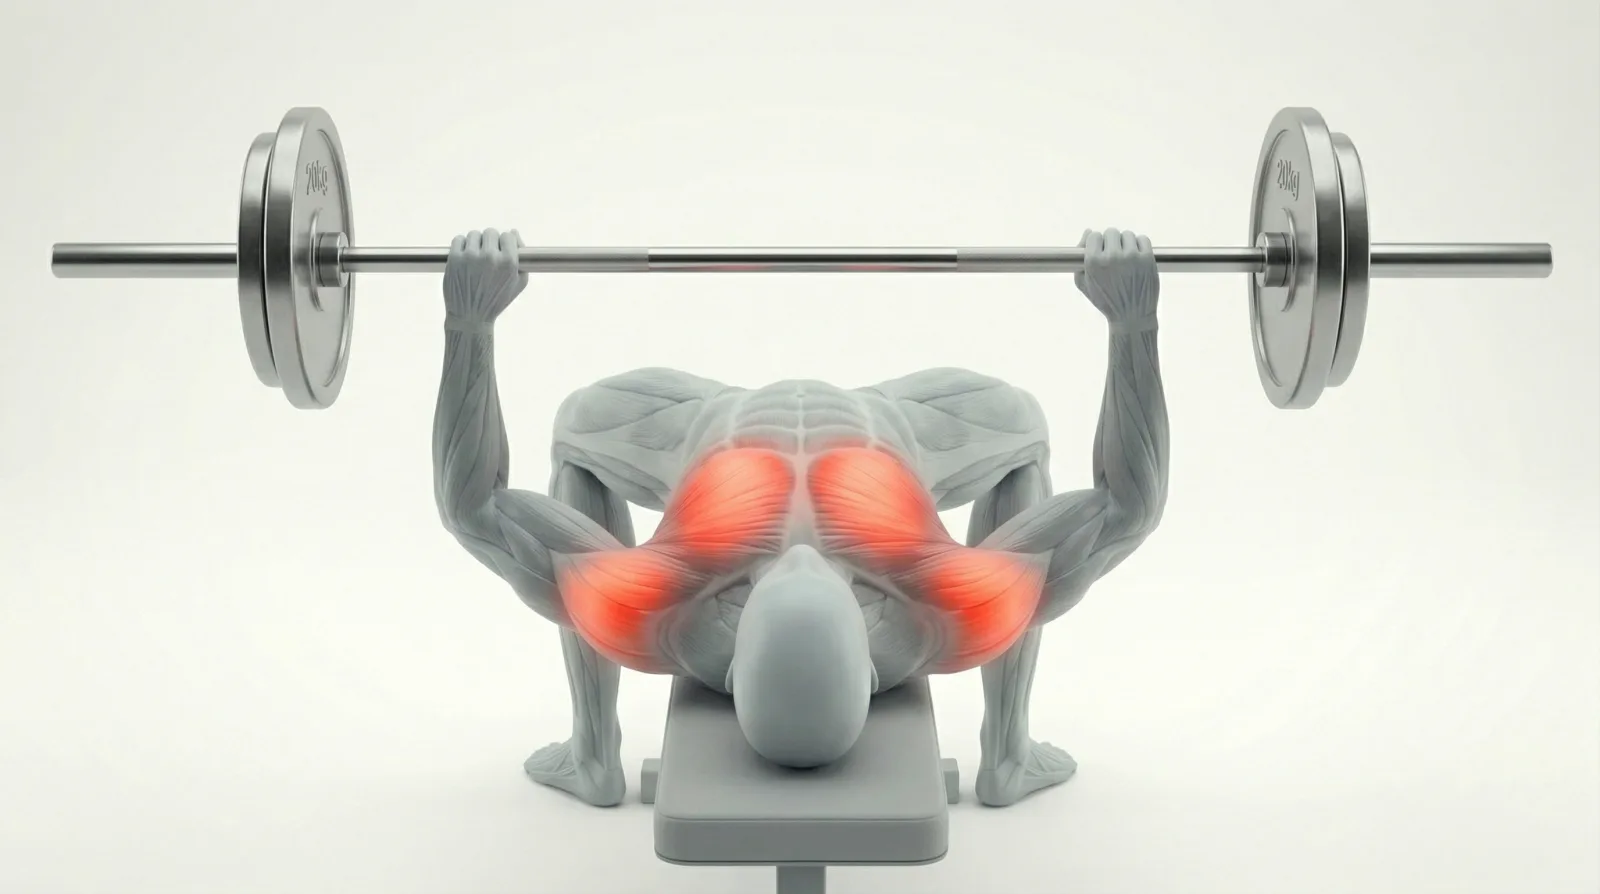
Barbell Bench Press
What We Are Building
A simple exercise browser that:
- Loads 3D exercise animations from a CDN
- Plays them in loops
- Displays muscle group info and difficulty
- Lets users browse exercises in a filterable grid
Prerequisites
- React Native project with Expo (SDK 54+)
- Basic React Native knowledge
- A few MoveKit exercise clips - grab the free sample pack to follow along
Step 1: Install expo-av
We use expo-av for video playback. It handles looping, muting, and background behavior out of the box.
npx expo install expo-avIf you prefer bare React Native without Expo, react-native-video (v6+) works too. The API is slightly different but the concepts are identical.
Step 2: Understand the File Structure
Each MoveKit exercise comes as an MP4 optimized for app use:
- Format: H.264 MP4 - universal iOS and Android compatibility
- Resolution: high-resolution MP4 - sharp on mobile without bloating your bundle
- Framerate: 30fps smooth animation
- Loopable: repeats when played in a loop
- Silent: no audio track - will not interfere with the user's music
Exercise Data Shape
Each exercise has metadata you will want in your app:
interface Exercise { slug: string; // e.g. "barbell-bench-press" name: string; // e.g. "Barbell Bench Press" primaryMuscles: string[]; // e.g. ["Chest"] secondaryMuscles: string[]; equipment: string[]; // e.g. ["Barbell"] difficulty: "beginner" | "intermediate" | "advanced"; durationSeconds: number; // animation loop length videoUrl: string; // CDN URL to the MP4 posterUrl: string; // first-frame thumbnail (WebP)}Step 3: Build the Exercise Video Player
Here is a reusable component that plays a MoveKit animation in a loop:
import React from "react";import { View, StyleSheet } from "react-native";import { Video, ResizeMode } from "expo-av";
interface ExerciseVideoProps {  videoUrl: string;  posterUrl?: string;  style?: object;}
export function ExerciseVideo({  videoUrl, posterUrl, style,}: ExerciseVideoProps) {  return (    <View style={[styles.container, style]}>      <Video        source={{ uri: videoUrl }}        posterSource={posterUrl ? { uri: posterUrl } : undefined}        usePoster={!!posterUrl}        posterStyle={styles.poster}        shouldPlay        isLooping        isMuted        resizeMode={ResizeMode.CONTAIN}        style={styles.video}      />    </View>  );}
const styles = StyleSheet.create({  container: {    width: "100%",    aspectRatio: 1,    borderRadius: 16,    overflow: "hidden",    backgroundColor: "#0a0a0a",  },  video: { width: "100%", height: "100%" },  poster: { resizeMode: "contain" },});
Key details:
isLooping- MoveKit clips loop. This flag makes it automatic.isMuted- clips have no audio, but setting this avoids iOS audio session conflicts.shouldPlay- starts playback immediately on mount.usePoster- shows the first-frame thumbnail while loading, preventing a flash of black.
Step 4: Create an Exercise Card
Wrap the video player in a card that shows exercise metadata:
import React from "react";import { View, Text, StyleSheet, Pressable } from "react-native";import { ExerciseVideo } from "./ExerciseVideo";
const difficultyColors = {  beginner: "#10b981",  intermediate: "#f59e0b",  advanced: "#ef4444",};
export function ExerciseCard({ exercise, onPress }) {  return (    <Pressable style={styles.card} onPress={() => onPress?.(exercise)}>      <ExerciseVideo        videoUrl={exercise.videoUrl}        posterUrl={exercise.posterUrl}      />      <View style={styles.info}>        <View style={styles.badges}>          <View style={styles.muscleBadge}>            <Text style={styles.badgeText}>              {exercise.primaryMuscles[0]}            </Text>          </View>          <View style={[            styles.difficultyBadge,            { backgroundColor: difficultyColors[exercise.difficulty] + "20" },          ]}>            <Text style={[              styles.badgeText,              { color: difficultyColors[exercise.difficulty] },            ]}>              {exercise.difficulty}            </Text>          </View>        </View>        <Text style={styles.name}>{exercise.name}</Text>        <Text style={styles.equipment}>{exercise.equipment[0]}</Text>      </View>    </Pressable>  );}
const styles = StyleSheet.create({  card: {    borderRadius: 16,    backgroundColor: "#111",    overflow: "hidden",    borderWidth: 1,    borderColor: "#222",  },  info: { padding: 12, gap: 6 },  badges: { flexDirection: "row", gap: 6 },  muscleBadge: {    backgroundColor: "#1a1a2e",    paddingHorizontal: 8,    paddingVertical: 3,    borderRadius: 6,  },  difficultyBadge: {    paddingHorizontal: 8,    paddingVertical: 3,    borderRadius: 6,  },  badgeText: {    fontSize: 11,    fontWeight: "600",    color: "#a0a0b0",    textTransform: "capitalize",  },  name: { fontSize: 15, fontWeight: "600", color: "#fff" },  equipment: { fontSize: 13, color: "#666" },});
Step 5: Build the Exercise Picker Grid
Create a scrollable, filterable grid of exercises:
import React, { useState } from "react";import {  View, Text, FlatList, StyleSheet,  SafeAreaView, ScrollView, Pressable,} from "react-native";import { ExerciseCard } from "../components/ExerciseCard";
// Replace with your own CDN URLs after purchasingconst EXERCISES = [  {    slug: "barbell-bench-press",    name: "Barbell Bench Press",    primaryMuscles: ["Chest"],    equipment: ["Barbell"],    difficulty: "intermediate",    videoUrl: "YOUR_CDN/barbell-bench-press/video-preview.mp4",    posterUrl: "YOUR_CDN/barbell-bench-press/poster-thumb.webp",  },  {    slug: "dumbbell-curl",    name: "Dumbbell Curl",    primaryMuscles: ["Biceps"],    equipment: ["Dumbbell"],    difficulty: "beginner",    videoUrl: "YOUR_CDN/dumbbell-curl/video-preview.mp4",    posterUrl: "YOUR_CDN/dumbbell-curl/poster-thumb.webp",  },  // ... add all purchased exercises];
const FILTERS = ["All", "Chest", "Back", "Biceps", "Quadriceps", "Core"];
export function ExercisePickerScreen() {  const [muscle, setMuscle] = useState("All");  const filtered = muscle === "All"    ? EXERCISES    : EXERCISES.filter((e) => e.primaryMuscles.includes(muscle));
  return (    <SafeAreaView style={styles.container}>      <Text style={styles.title}>Exercises</Text>      <ScrollView        horizontal        showsHorizontalScrollIndicator={false}        contentContainerStyle={styles.filters}      >        {FILTERS.map((f) => (          <Pressable            key={f}            style={[styles.chip, muscle === f && styles.chipActive]}            onPress={() => setMuscle(f)}          >            <Text style={[              styles.chipText,              muscle === f && styles.chipTextActive,            ]}>{f}</Text>          </Pressable>        ))}      </ScrollView>      <FlatList        data={filtered}        keyExtractor={(item) => item.slug}        numColumns={2}        columnWrapperStyle={styles.row}        contentContainerStyle={styles.grid}        renderItem={({ item }) => (          <View style={styles.gridItem}>            <ExerciseCard exercise={item} />          </View>        )}      />    </SafeAreaView>  );}
const styles = StyleSheet.create({  container: { flex: 1, backgroundColor: "#000" },  title: {    fontSize: 28, fontWeight: "700", color: "#fff",    paddingHorizontal: 16, paddingTop: 16, paddingBottom: 8,  },  filters: { paddingHorizontal: 16, paddingVertical: 12, gap: 8 },  chip: {    paddingHorizontal: 14, paddingVertical: 7, borderRadius: 20,    backgroundColor: "#1a1a1a", borderWidth: 1, borderColor: "#333",  },  chipActive: { backgroundColor: "#fff", borderColor: "#fff" },  chipText: { fontSize: 13, fontWeight: "500", color: "#999" },  chipTextActive: { color: "#000" },  grid: { padding: 12 },  row: { gap: 12, marginBottom: 12 },  gridItem: { flex: 1 },});
Step 6: Optimize for Performance
Use Previews for Grids
Use the right asset for each UI surface:
- Public previews: lightweight enough for list and grid thumbnails
- Paid MP4 files: high-resolution assets for detail views and product playback
Use previews in grids and switch to the paid MP4 file when a user taps into the detail view.
Cache Videos Locally
For offline support, download the MP4s at install time and serve from the local filesystem:
import * as FileSystem from "expo-file-system";
async function cacheExerciseVideo(slug: string, remoteUrl: string) {  const localUri =    `${FileSystem.documentDirectory}exercises/${slug}.mp4`;  const fileInfo = await FileSystem.getInfoAsync(localUri);  if (fileInfo.exists) return localUri;
  await FileSystem.makeDirectoryAsync(    `${FileSystem.documentDirectory}exercises/`,    { intermediates: true }  );  const download = await FileSystem.downloadAsync(remoteUrl, localUri);  return download.uri;}
Lazy Load in Long Lists
In lists with 20+ exercises, avoid autoplaying every video. Use FlatList's onViewableItemsChanged callback to track which items are visible and only play those.
Step 7: Muscle Metadata and Supporting Artifacts
MoveKit includes structured metadata for muscles, equipment, difficulty, movement pattern, tags, and file references. Use that metadata as the reliable source for filters and exercise detail screens, with supporting visual artifacts where available.
Barbell Bent Over Row
This is perfect for educational fitness apps where users want to understand which muscles each exercise targets. You can build muscle maps and detail panels from metadata without manually tagging every clip.
Styling Tips
- Dark backgrounds work best. The MoveKit mannequin is light-colored on a dark background. Match your exercise views to a dark theme for visual consistency.
- Square aspect ratio. The animations are rendered in a square frame, so use
aspectRatio: 1for the cleanest look. - No controls needed. These are short, looping animations - not long-form video. Hide playback controls and let them autoplay silently.
- Poster images prevent flash. Always use the poster thumbnail as a placeholder while the video loads. MoveKit provides WebP thumbnails specifically for this.
What You Get with MoveKit
- 200+ exercises across all major muscle groups (chest, back, shoulders, arms, legs, core)
- Consistent 3D mannequin - same character and art style across every animation
- Structured metadata - muscles, equipment, movement patterns, difficulty, tags, and file references
- Loopable MP4s - H.264, high-resolution, 30fps, loopable
- Commercial license included - use in your published app, no extra fees
- Individual clips at $4.99 or the full library for $99
- Free sample pack - 2 exercises to test before you buy
Next Steps
- Grab the free sample pack to test with real clips
- Browse the full exercise library to see all 200+ exercises
- Check the licensing page for commercial use details
If you are building a fitness app and tired of inconsistent stock animations, MoveKit saves you weeks of sourcing and gives your app a professional look from day one.
FAQ
Does MoveKit work with React Native CLI (no Expo)?
Yes. Use react-native-video (v6+) instead of expo-av. The component API differs slightly - use the repeat prop instead of isLooping and muted instead of isMuted - but the MoveKit MP4 files work identically.
What about Flutter or SwiftUI?
MoveKit clips are standard H.264 MP4 files. They work in any platform that supports video playback. In Flutter, use video_player or chewie. In SwiftUI, use AVPlayer with AVPlayerLooper. The integration pattern is the same: load the URL, set to loop, mute, and autoplay.
How large are the files?
File sizes vary by exercise length and export. Use lightweight public previews for list views and paid high-resolution MP4 files for detail screens. The Full Library ZIP is currently about 458 MB.
Can I host the files myself?
Yes. After purchase, you download the MP4 files and can host them anywhere - your own CDN, S3, Firebase Storage, or bundle them directly into your app. There is no lock-in to MoveKit's CDN.
Is the commercial license really included?
Yes. Every purchase includes a commercial license. You can use the animations in published iOS, Android, and web apps, in online courses, and in social media content. The only restriction is you cannot resell the raw animation files or include them in a competing marketplace. See the licensing page for full details.